Rhino-Rack’s collection of versatile gear makes mounting accessories to your vehicle as easy as ever before. If you’re looking for a no-fuss way to mount your light bar, then read on to discover the dream team of Rhino-Rack accessories to make it happen. Here’s how to easily mount a light bar to your Pioneer Platform with Rhino-Rack gear.

The Pioneer Platform
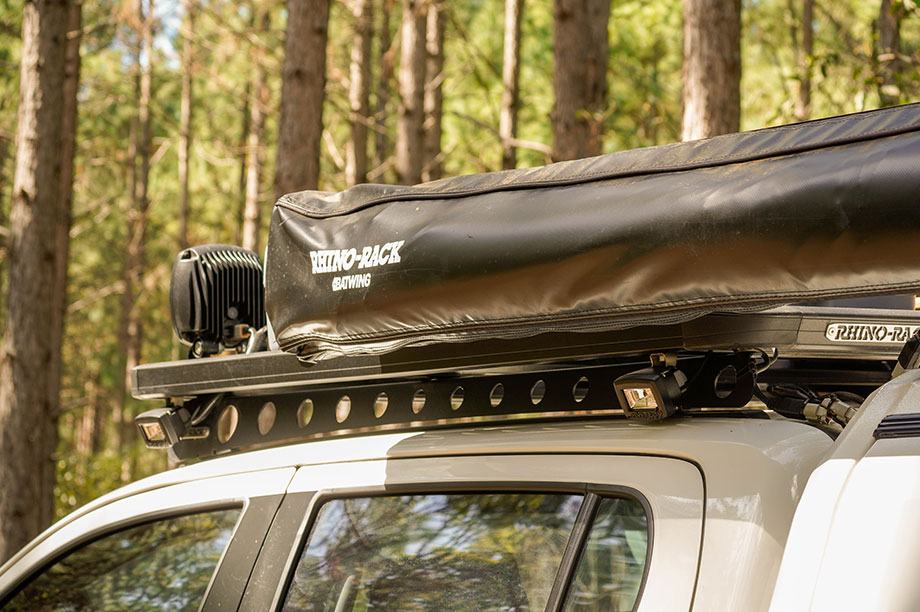
Perhaps one of Rhino-Rack’s best inventions to date, the Pioneer Platform is a must for overlanders and road trippers alike. What sets it apart from other roof trays is its flexibility; compatible with a whopping collection of accessories, this adventure-proof system set-up can be as bespoke as you want it to be.
Easily mounting your light bar is just one example of how you can customise your roof. Apart from being convenient, durable, and versatile, another benefit of using the Pioneer Platform to mount your light bar is the protection it offers. The platform’s integrated channels enable internal wiring, and thanks to fibreglass re-enforced nylon corners, you can easily access the wiring from the front and back of the platform.
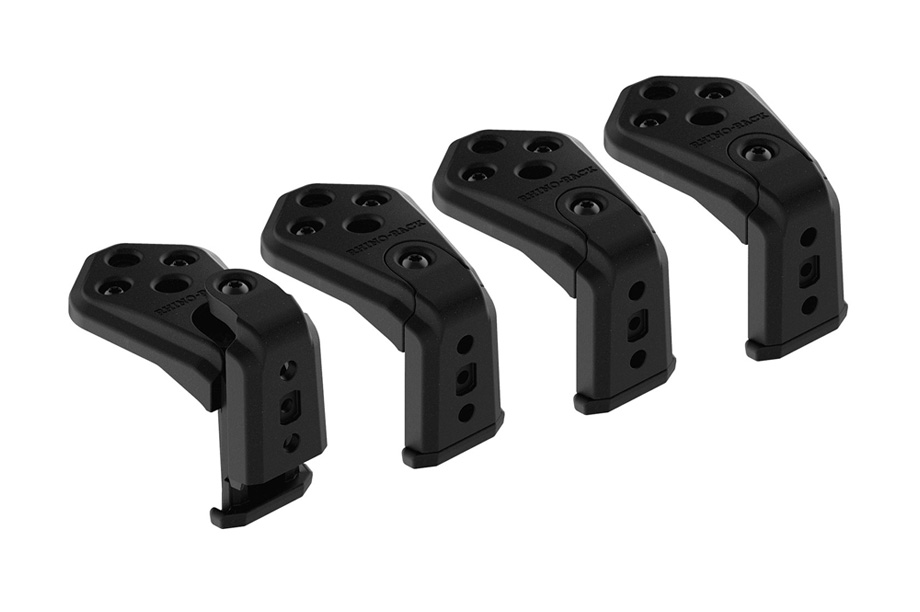
Stow It Starter Kit
Once you’ve got the Pioneer Platform installed, the next step is to get your hands on a Stow It Starter Kit – an accessory bracket that like the platform, offers total versatility. Simply attach it to your Pioneer Platform and let the mounting begin! There’s no doubt you’ll use this gear for all sorts of accessories and set-up options in the future.
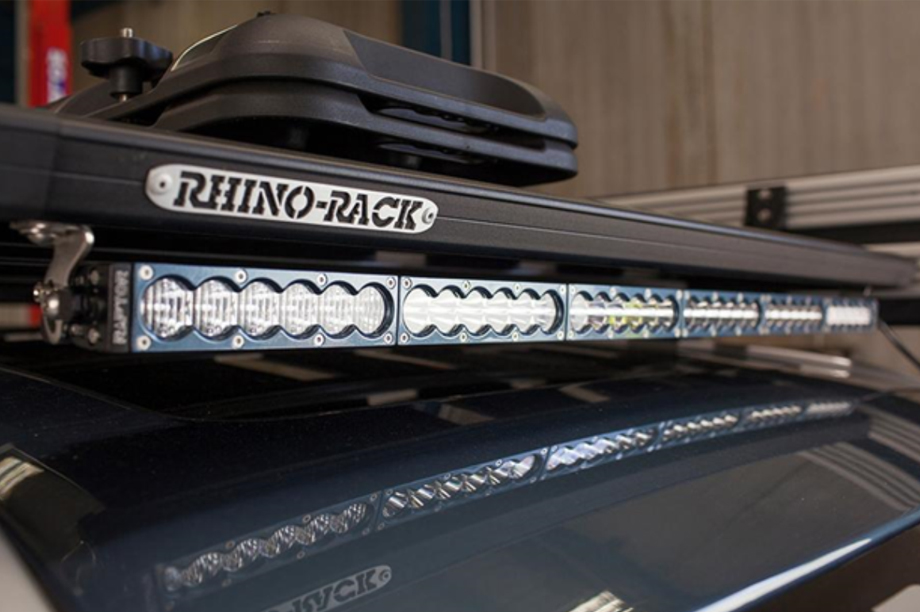
Stow It Light Bar Adaptor
While the Stow It Starter Kit comes with Universal Adaptors to mount awnings, the Stow It Utility Holder, and a variety of others Rhino-Rack accessories, mounting a light bar requires a specific Stow It Light Bar Adapator. Just like all Rhino-Rack products, the Light Bar Adapter has been designed to withstand the toughest conditions and has a sleek finish. It comes with the new Zwifloc channel nuts that allow the brackets to be placed anywhere on the side rail without moving other accessories.
The installation
Once you’ve got the gear, follow these simple steps:
1) Join the two Zwifloc connectors together
2) Attach them to the underside of the Stow It base bracket using the supplied bolts
3) Close the Zwifloc mechanism and insert the base bracket to the front of the Pioneer Platform on the right side
4) Repeat the same process on the left side Insert the light bar adapters to either side of the bar and secure them with the supplied nuts
5) Make sure the distance between the base brackets matches the light bar adapters
6) Once aligned, slide the mounting system together and secure it with the bolts
7) Once connected to power, the light bar is good to go!
For more detailed instructions, read the online manual.
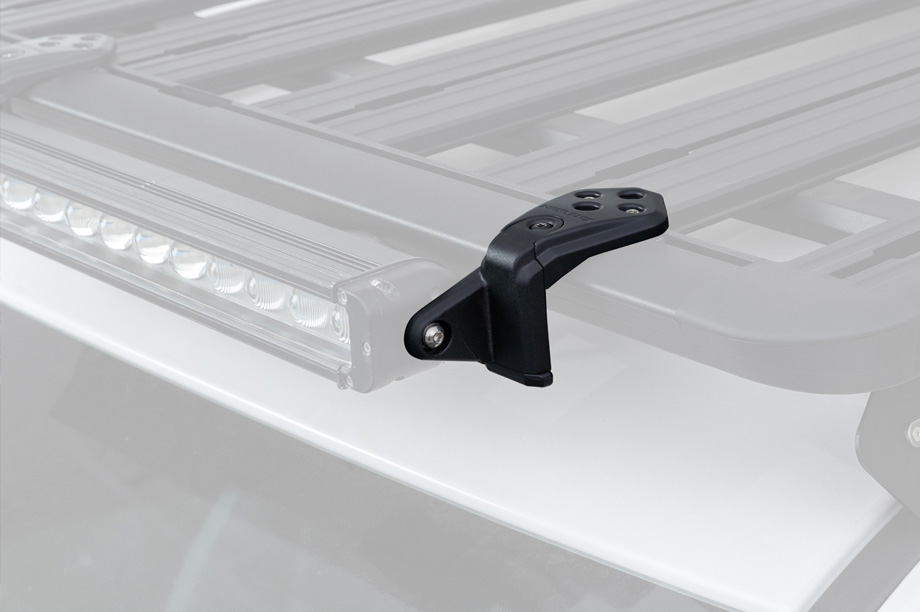
How to mount spot lights and work lights to your Pioneer
- With a Pioneer Worklight Bracket. A versatile bracket that can be mounted to all sides of the Pioneer at varying heights.
- Using the Pioneer SI Light Bracket Kit. Great for mounting spotlights and small work lights to the top or underside of your Pioneer.
- With the Pioneer Light Bracket Kit (2 Pack). Attach your Spot Lights to the Front or Rear of the Pioneer Platform, Tradie or Tray.